Why my computer is slow?
Perhaps this is the question that millions of people around the globe are asking every day. This is popular topic within the Windows users and there is usually good reason why your computer is slow.
Personally now days i can tune almost any windows computer to work fast. Or if not fast, at least a lot faster. There is few tuning tips that i want to give. If you follow these steps, your computer will be faster.
I don't like when people are recommending reinstalling of whole Windows every time when computer is acting slowly. Its easy solution, like cheating. 90% of the time, its not even necessary.
Your computer has became slow, since its stuffed with running processes. Every time when you any kind of application running on background, its eating CPU cycles and consuming memory. Your hard drive has started defragmenting. Defragmenting means that bits that reside your physical hard drive surface has been scattered, and system needs to spend extra time looking for them.
To keep your computer running smoothly, you need to keep things simple. Here is few tips that i recommend doing, if you wish to kick some speed to your can. These examples are for Windows 7. This might be bit aggressive approach, so pay attention. Sometimes desperate time require desperate measures!
Performance tuning Windows 7
1. Make sure that your windows is up to date.
This is natural and good step to start tuning your Windows. If you missed service pack updates, that is going to affect your performance since it includes many performance updates. Check your updates, update everything you can, reboot and repeat this until Windows update doesn't have anything else to offer. Open up start menu and search for '
Windows Update'. Then just click '
Install updates'.
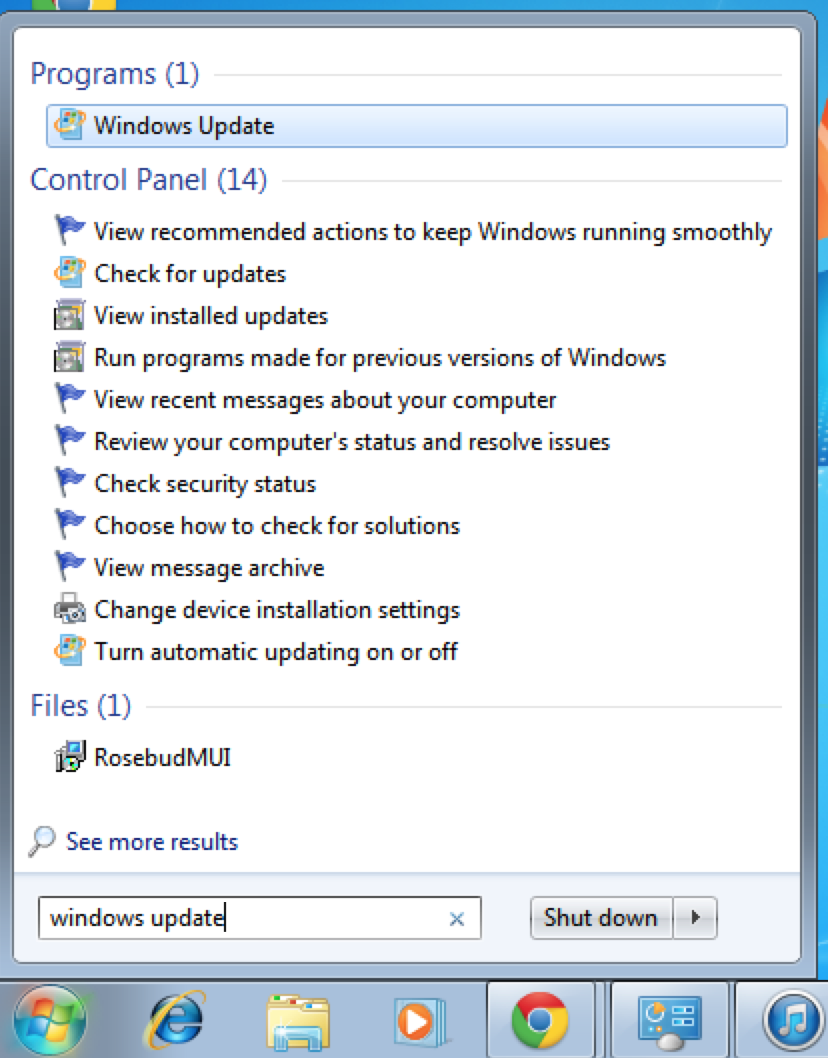 |
| Search for 'Windows Update' |
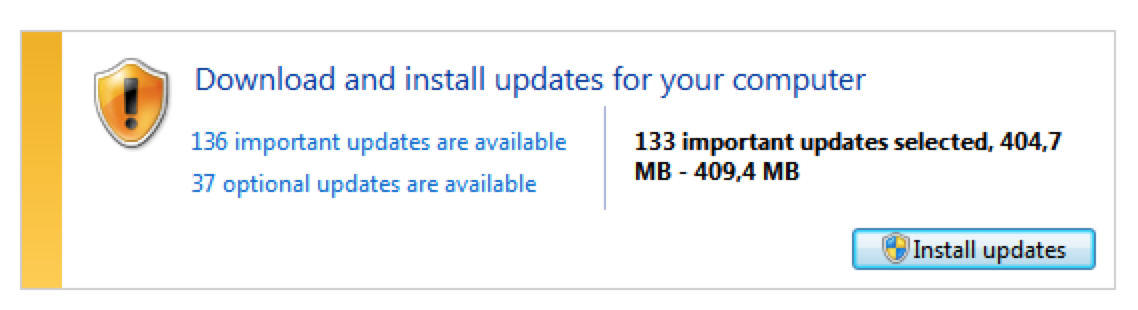 |
| Keep installing updates, until Windows update doesn't have anything else to offer. |
2. Delete unused applications, that you don't need anymore.
Be careful here, remove only applications that you recognize. There can be bunch of frameworks and drivers need to be there. But don't be scared, your system wont die if you accidentally deleted something that you shouldn't. Open '
Add or remove programs' select application from the list, press uninstall and follow the instructions after uninstaller starts.
 |
| Search for 'Add or remove programs' |
3. Remove ALL start up applications.
Yes, everything, unless you are certain that you need them. Its easier to come back and enable the applications than just leave them hanging around useless. Anti virus software is a good example which you could leave enabled. Open application called '
msconfig', select '
Startup' tab and start deselecting applications. After you are done, hit OK.
 |
| Search for 'msconfig' |
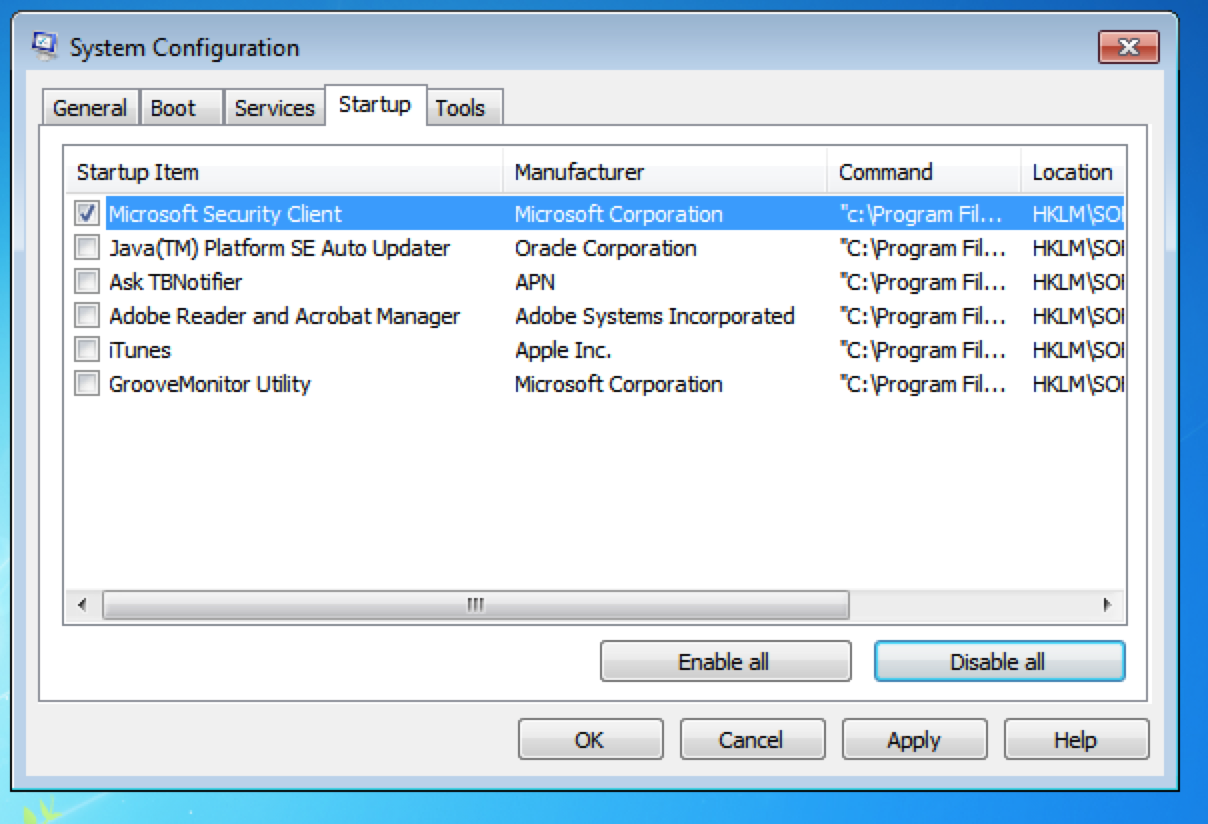 |
| Remove everything what you don't need. |
4. Run CCleaner
This handy piece of software will delete all of your temporary files with one click. You can also clean up your registry. Just hit 'Analyze' to see what CCleaner is about to do and after that click 'Run Cleaner'. You can repeat this step at 'Registry' tab.
Download latest version of CCleaner here:
http://www.piriform.com/ccleaner/download
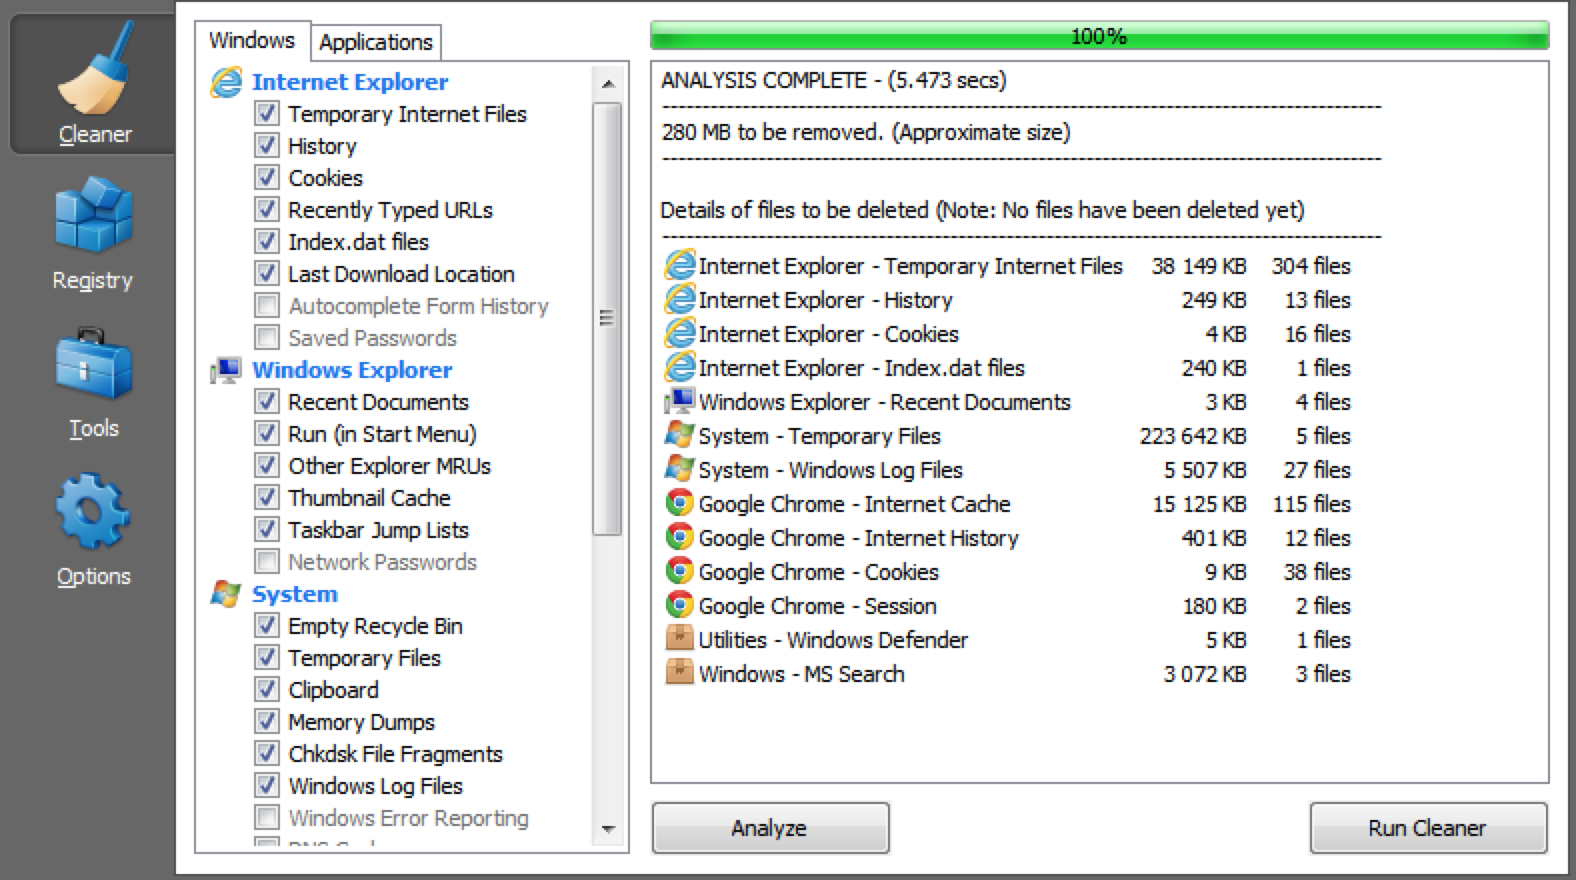 |
| CCleaner analyze |
5. Reboot your system
Now on system startup should already start feeling less painful. Keep an eye out if something is missing, go back to '
msconfig' and re-enable applications if needed.
6. Defrag your system
You really don't have to (or actually shouldn't) do this if you are using SSD drive. SSD or Solid state drives wears out by doing intensive read/write operations (which defrag is doing). And since seek-time of SSD drive is 0ms its really needed anyway. If you are not sure, listen to your harddrive, if you hear it spinning and keeping noise, then its a standard hard drive, and you most probably should defrag it.
Open '
Disk Defragmenter', click Disk you want to defrag and hit '
Defragment disk'. This might take a while. Tts better to leave it running and not to do too much stuff with your computer during that time.
 |
| Search for 'Disk Defragmenter' |
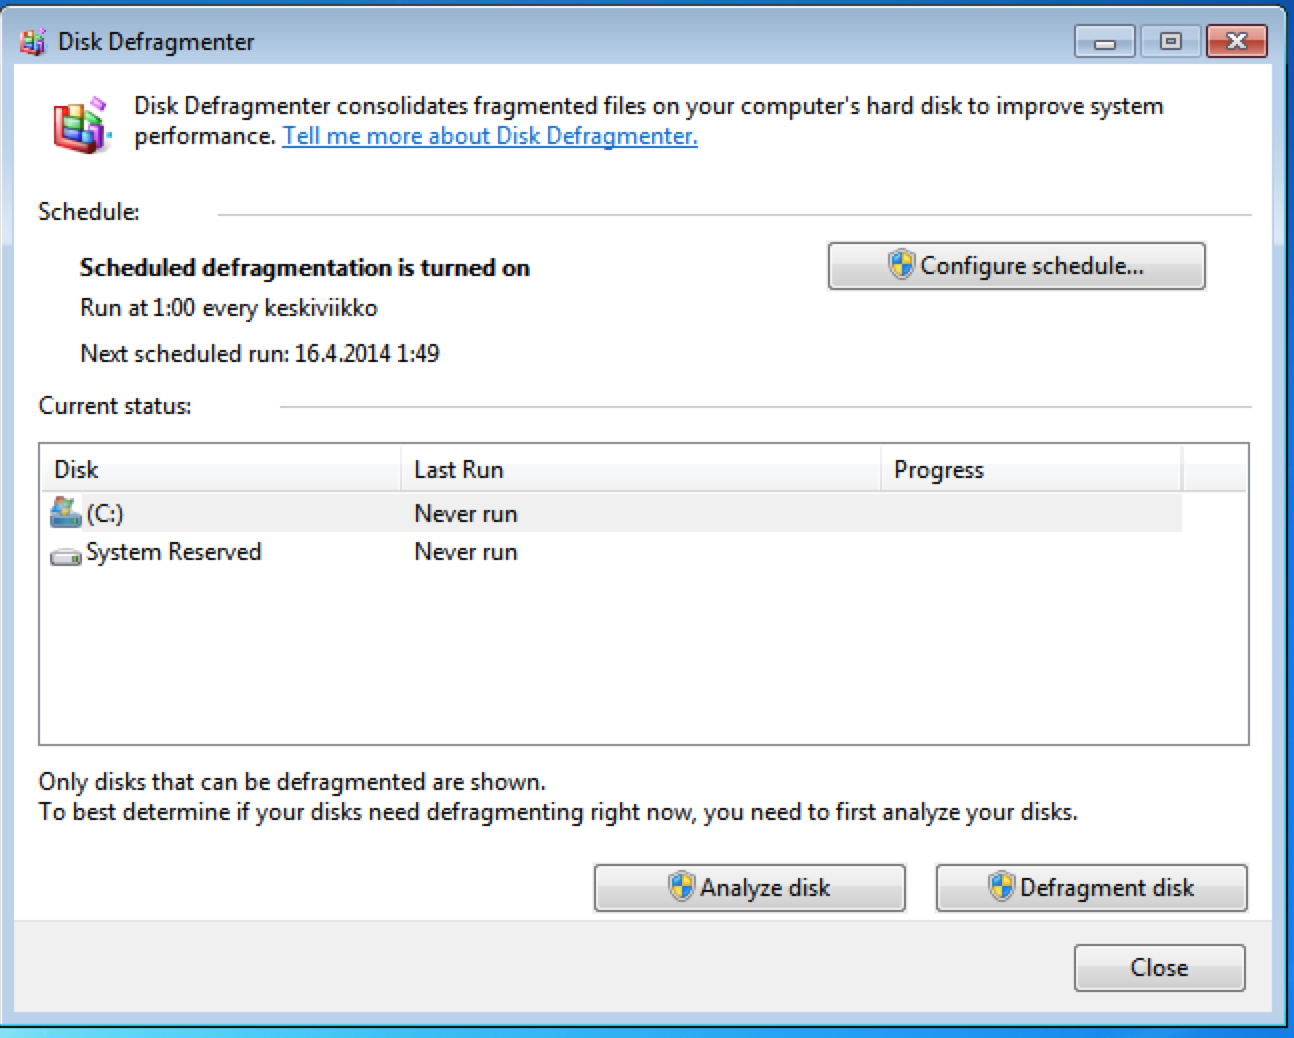 |
| Select drive and click 'Defragment disk' |
7. Clean your desktop
This might be an illusion, but seriously try it! Making your desktop clear from all the temporary documents and crap will make your computer appear to be running faster. Also change a shiny new background. If you don't know where to look for one, i recommend
http://interfacelift.com/.
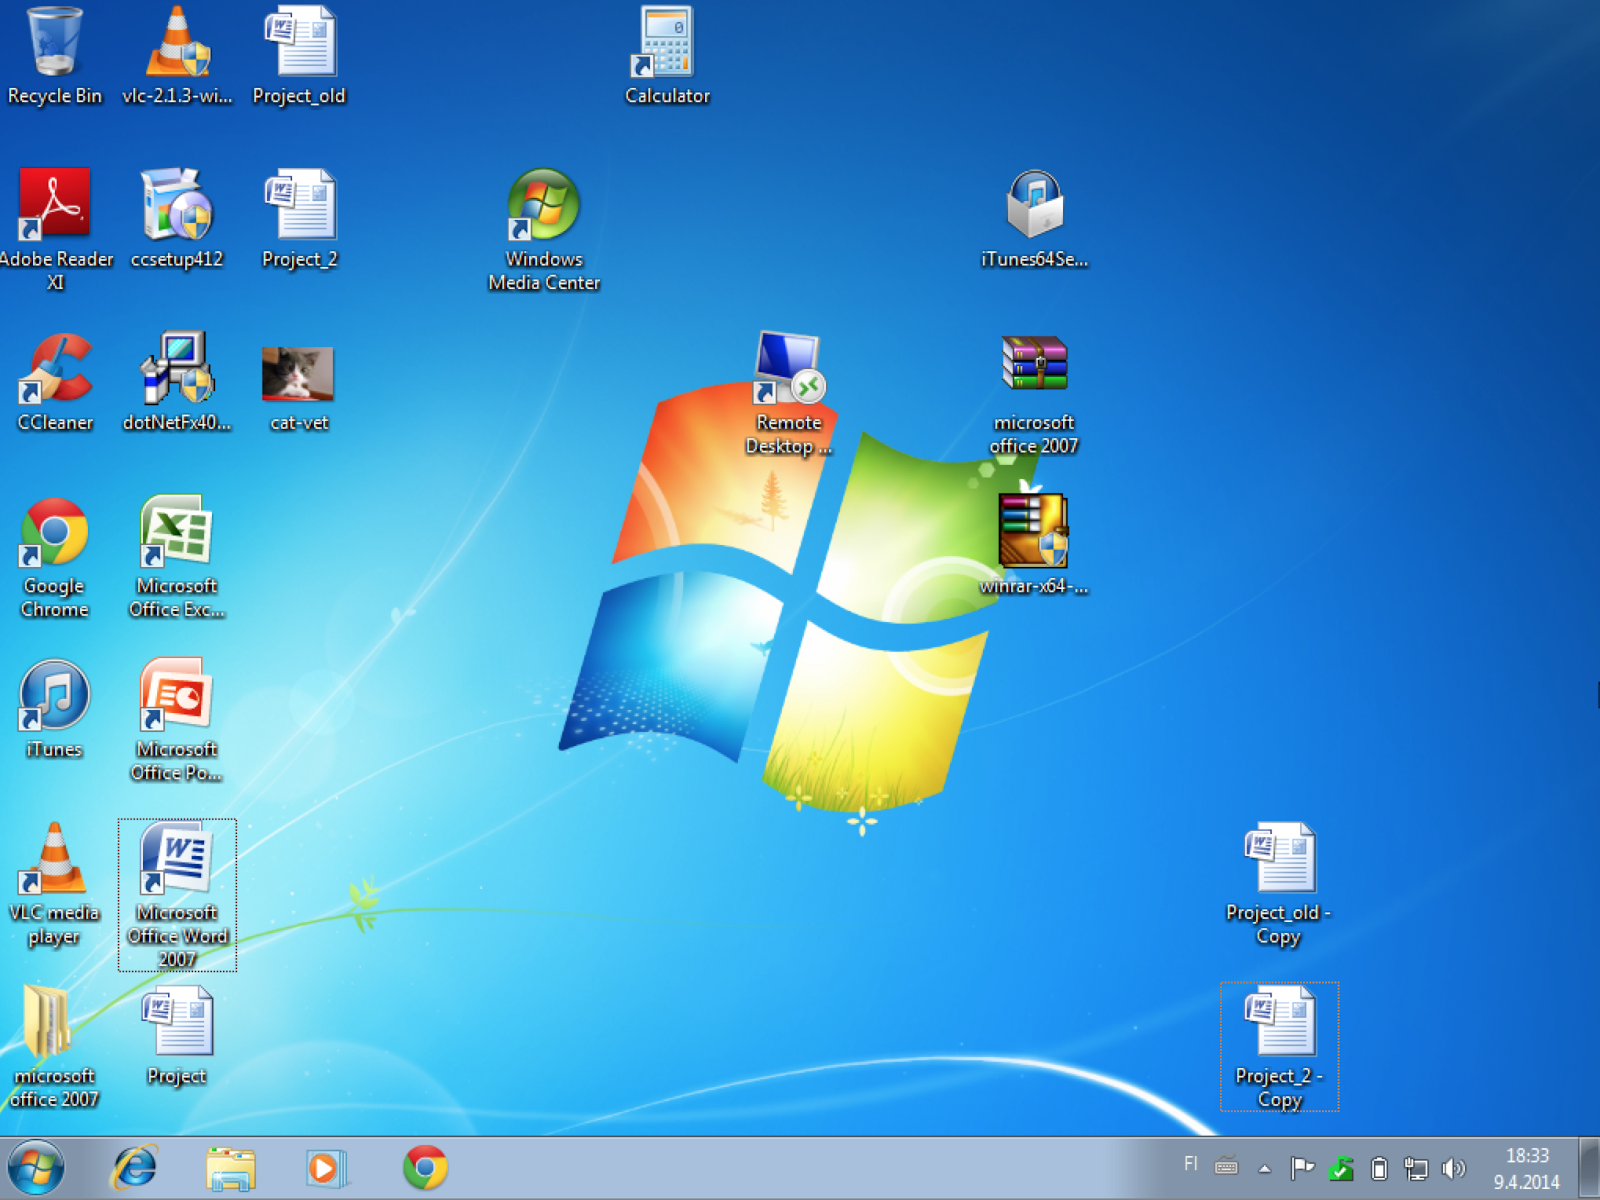 |
| Before |
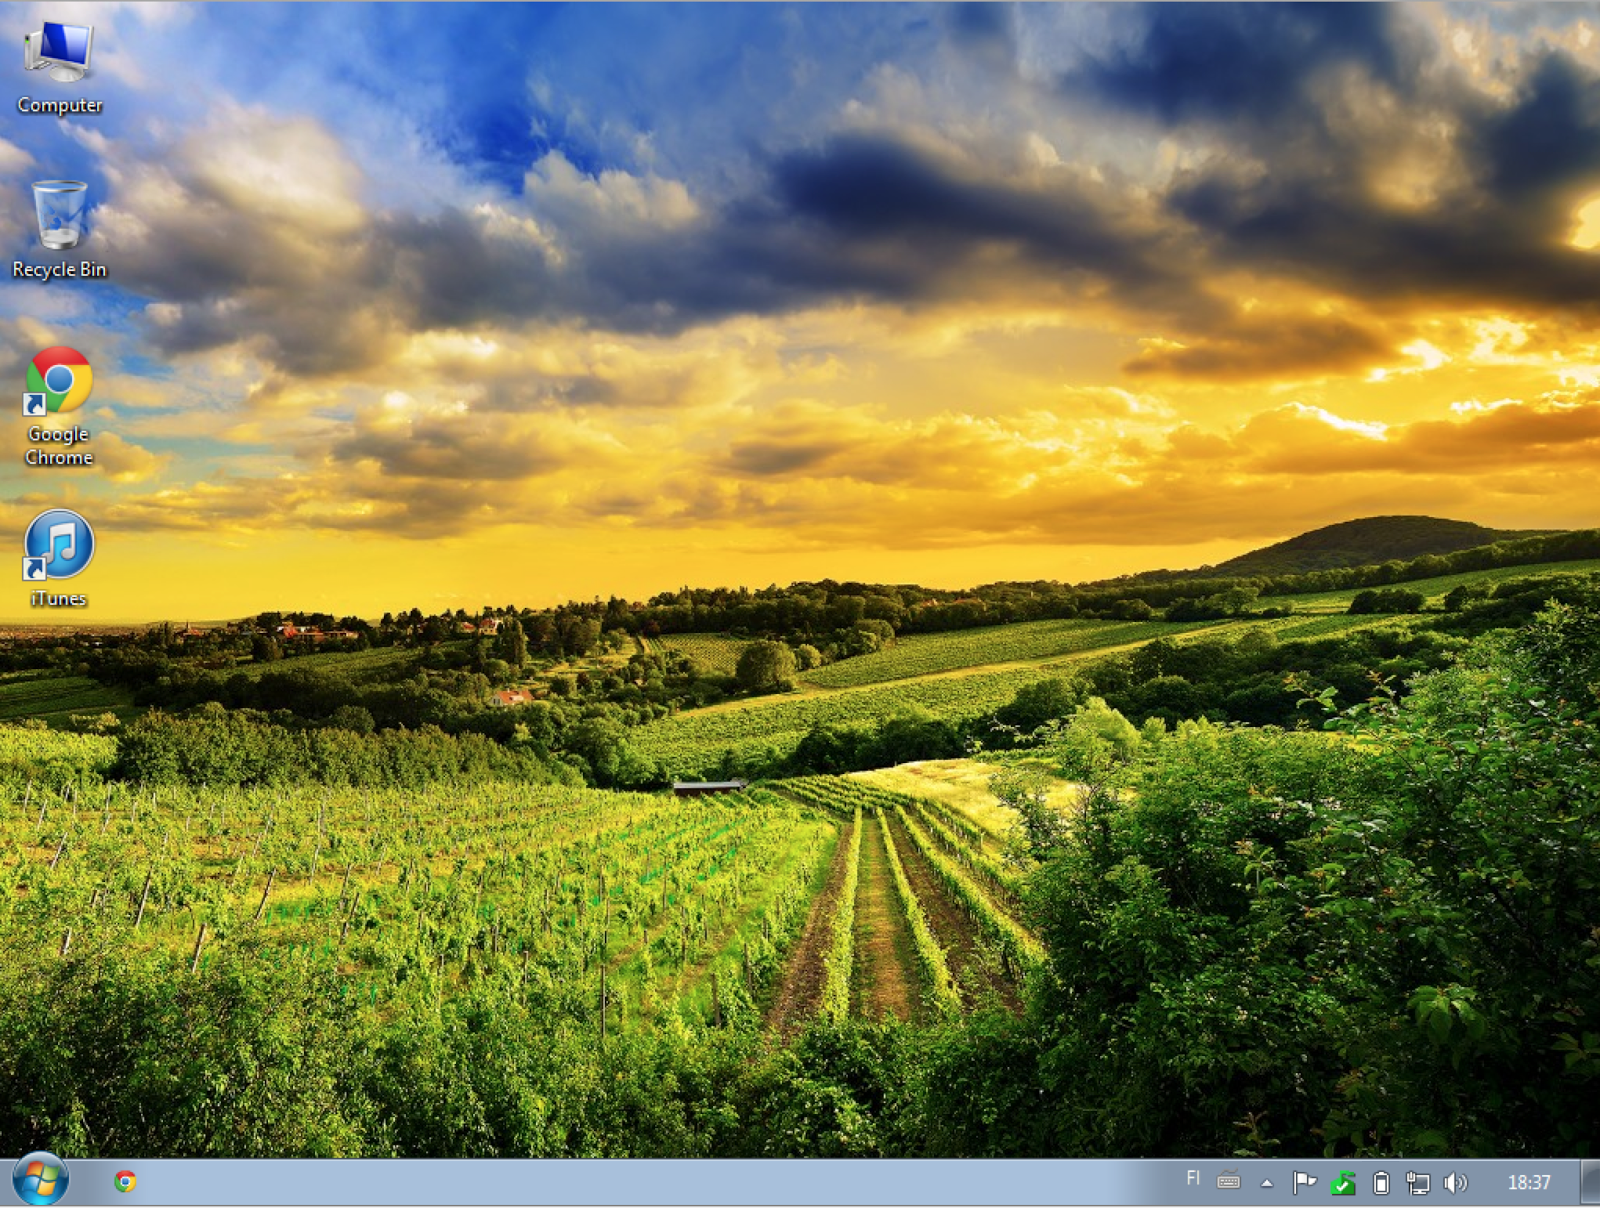 |
| After |
Thats it, now your system should be bit faster again. Hopefully this was helpful.


